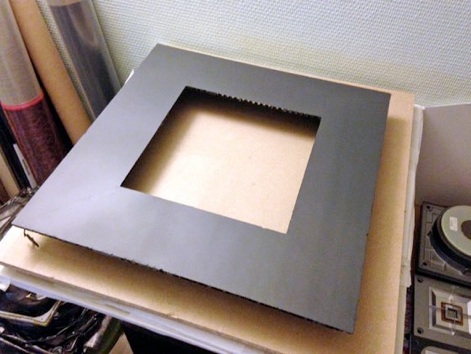
Woofer and mid with damaged graphite diaphragms.
(Woofer’s use frequency from 20Hz to 500Hz, mid’s use frequency from 500Hz to 2,5KHz)
These diaphragms have been very much tinkled by a previous protagonist. Wrong handlings on a very dirty lab bench led to holes and scratches. But the most serious problem is that inappropriate foams were glued on the polymer-graphite diaphragms with an aceton based glue. Aceton is incompatible with polymers and the glue eroded the perimeters of the diaphragms, what a disaster !
At first, I surgically removed the foams and the lefts of glue. Then, after many researches, I made ultra stiff and light carbon frames to recover the damaged mid’s diaphragm’s perimeter. For holes and scratches, I made an ultra loaded graphite filler which I locally applied before to reload the diaphragms with 100% graphite aerosol. After many hours of intensive work, I’m satisfied with the result.


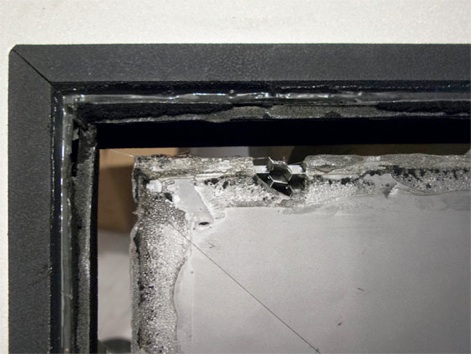
5mm thick foams bonded with an aceton based glue.
This repair was almost non-working, what a bad idea !
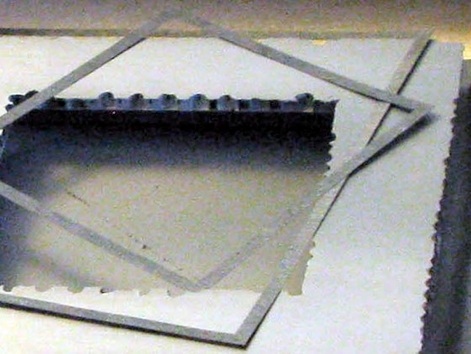
Woofer’s diaphragm after the bad foams were taken out. See the horrible glue everywhere.
Hours of surgery were needed to clean the glue. The perimeters are very much damaged. Clear marks are the result of a gentle sanding. It is now time to repair holes and scratches before to work on the perimeters.
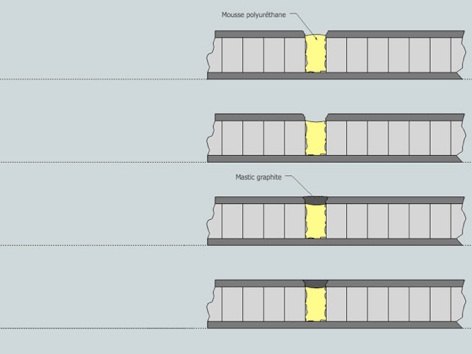
Principle of repair of holes with expandable PU foam 50Kg/m3 and graphite mastic. After a gentle sanding of the surface, the diaphragms will be reloaded with 100% graphite aerosol.
Filling with hard expandable PU foam

Composing of the PU foam with a tip

Filling with graphite mastic with a slight excess

Very gentle sanding of the mastic

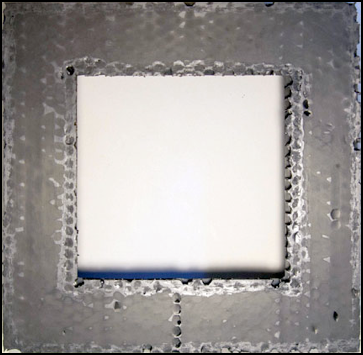
Diaphragm after a repair with graphite mastic, a gentle sanding and a reload with graphite aerosol followed with a gentle brushing.
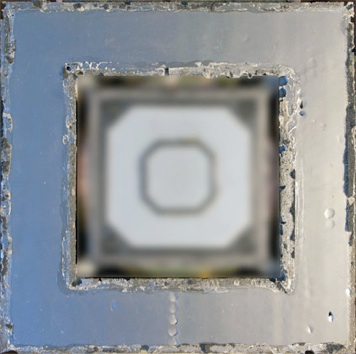
Diaphragm before restoration.
After many researches: Carbon frames with a density of 75g/m2 !
Very interesting relation between weight and stiffness.

Woofer’s diaphragm after the same repair process except for carbon frames, unnecessary here.
As a reference, mid’s diaphragms of the second loudspeaker after cleaning. The woofer was also that easy to clean well. ...Things are so much simpler when no one were here before...
Diaphragms after reassembling with new surrounds.


Mid 1
Woofer 1
Woofer
Mid 1
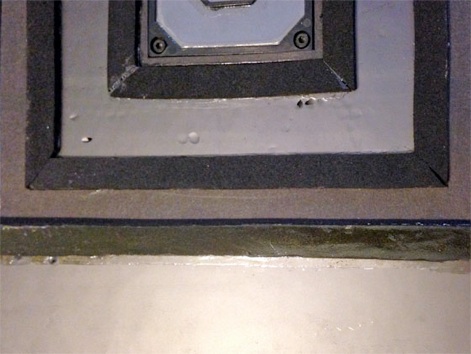
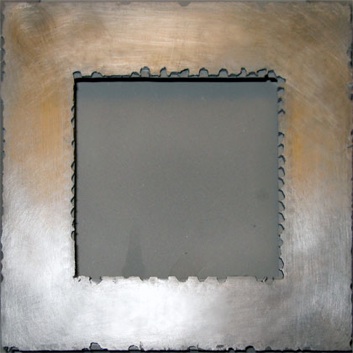
After taking the foams out, one can see the damaged skin of the inside and outside perimeters. Here it is the midrange driver’s diaphragm.
Dismounted and cleaned diaphragm
Mid 1
Woofer 1
Foam
Foam
Foam
Diaphragm after being polished and satiny varnished with a slight layer of aerosol, as close as possible to the original. Plus its glued carbon made frames.
Mid 2
Mid 1
Mid 1
Médium 1
Comparison of the two mids after completed restoration.
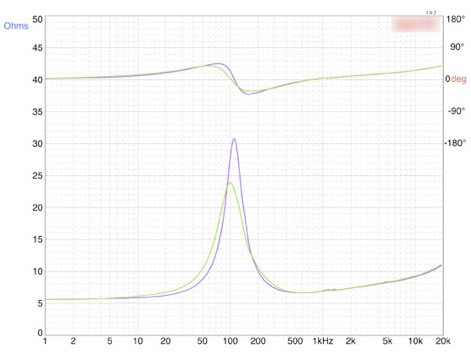
Perfect similarity starting from 500Hz. 10Hz gap on the Fs.
The measurement of the two woofers shows even less differences. See surrounds repair section.

Pioneer S-F1
Woofer and mid diaphragmas
Projects ≫ Project S-F1 custom ≫ Diaphragms repair


Diaphragm after restoration with its carbon made frames.


